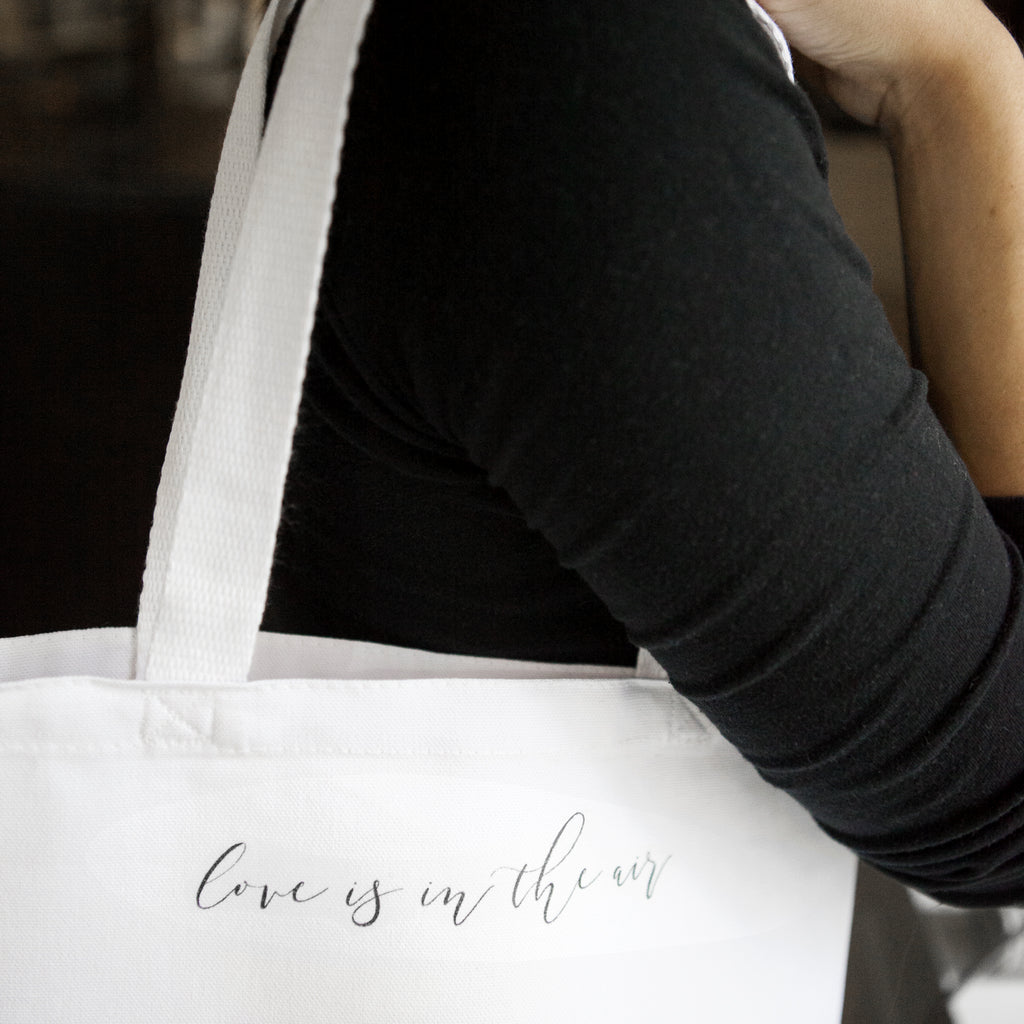
Custom tote bags have so many different uses when it comes to weddings! They make lovely favors for bridal showers or bachelorette parties, bridesmaid gifts, wedding welcome bags, wedding favors, and are the perfect way to package wedding day survival kits. They can get expensive though, especially if you have a large bridal party or a lot of guests. Have you ever considered making tote bags yourself? It turns out it’s much easier than you might have imagined!
Today we’re bringing you the complete details on how to make your very own “best day ever” or “love is in the air” tote bags, using our free printable templates. Follow the easy steps below to instantly add a personalized piece to any celebration.
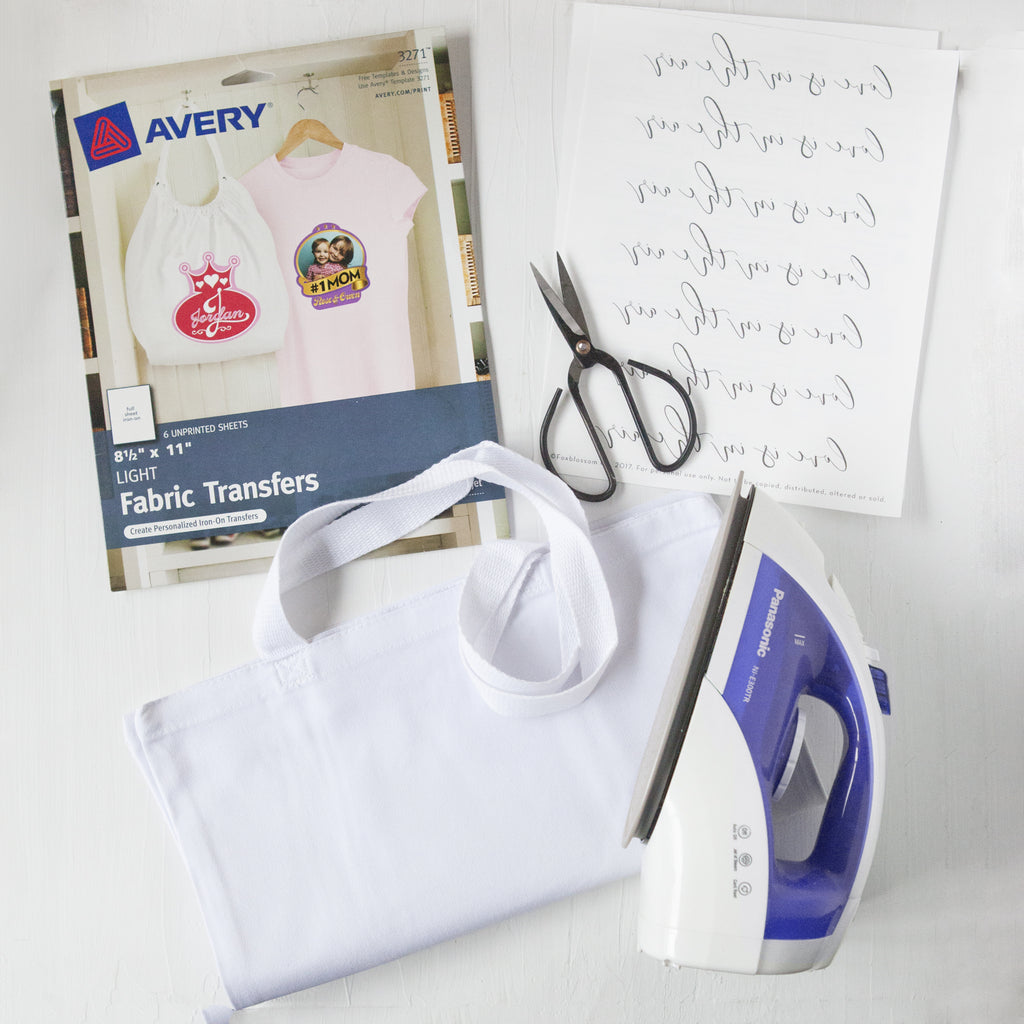
MATERIALS

- Phrases file (click to download)
- White Canvas Tote Bags (available for $5!)
- Fabric transfer sheets (for light material) (we like these fabric transfers from Avery)
- Scissors
- Iron
STEPS
Step 1: Download our template and print it onto fabric transfer sheets. Note: They are designed to be printed as a mirror image.

Step 2: Cut out the phrase you’ve selected.
Tip: trimming very close to the edges reduces the amount of sheen from the transfer paper, which gives your bag a cleaner, more refined look.

Step 3: Arrange your phrase on the tote bag. We think the phrases look great centered between the handles of the bag, or aligned near either of the bottom corners.

Step 4: Set your iron to the hottest setting available, and slowly move the iron across the letters. Apply a good amount of pressure and iron over the letters a few times to ensure adherence to the tote bag. After moving the iron across the entire design a few times, feel free to peel up the edges of the transfer to check how it looks before removing it completely.
Tip: Using a steam iron? Turn off the iron’s steam setting and make sure there is no water in the reservoir. Dry heat makes sure that the transfer stays flat and straight on the tote bag.

Step 4: Allow the transfer to cool completely before fully peeling off the transfer's backing paper, and voilá, you’re finished!
PIN IT FOR LATER


